
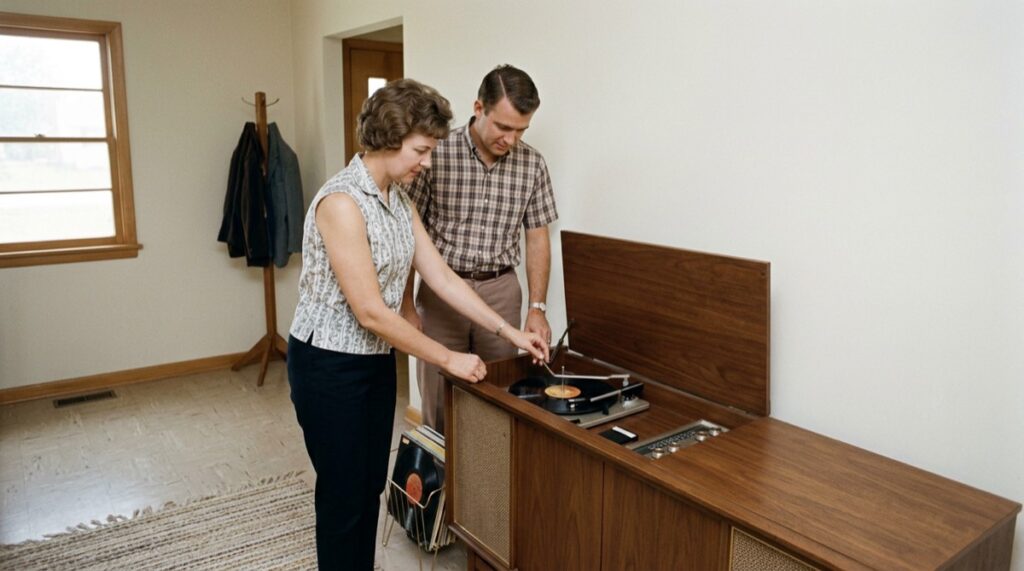
Somebody’s dad had just bought a new album, the console stereo lid was up, and nobody was allowed to talk until side one was over. If you grew up in 1960s America, you probably remember a room like that, where music wasn’t background noise but the reason everyone sat down.
You can build that room again today. It doesn’t take a museum budget or a full renovation, just a few deliberate choices about where the sound sits, where people sit and what goes on the walls. Here’s how to put together a 1960s listening room, one step at a time.
Step 1 – Center the Room on the Record Player
The record player is the heart of a 1960s listening room, so place it first and arrange everything else around it. In many homes, the stereo was a piece of furniture in its own right: a long wooden console with the turntable under a lift-up lid and speakers built into the cabinet.
If you can find a working console, give it the longest wall in the room. If you’re using a modern turntable and separate speakers, set them on a low wooden cabinet so the look stays close to the original.
Check the setup before you add anything else:
- Turntable on a level, sturdy surface away from foot traffic
- Speakers at roughly seated ear height
- Speakers spaced apart with the listening spot in the middle
- Records within reach of the turntable
A room built around the music sounds better than a room where the music was squeezed in last.
Step 2 – Arrange the Seating Around the Sound
Seating in a 1960s listening room faced the music, not a television. Families gathered on the couch in the evenings, kids sprawled on the rug, and visitors took whatever chair was free. The couch was where people talked about what they’d just heard.
Put your main seat across from the speakers, with enough distance that the sound from both sides meets before it reaches you. A low, long couch suits the period better than a deep recliner, and it gives three or four people a fair seat for the same song.
If you’re choosing new seating for the room, think about how often the layout will change between quiet evenings and full houses. A Home Reserve couch is made from modular seats, so the pieces can be arranged in more than one layout. Measure the wall facing your speakers before you decide on any couch, and leave space to walk to the turntable without stepping over anyone.
Add a couple of floor cushions or a low armchair for the overflow. In the 1960s, the best spot to hear a new record was often the floor right in front of the speakers, and younger guests will still claim it.
Step 3 – Build a 1960s Record Collection
A good 1960s listening room needs records that people in that decade actually played at home. You don’t need hundreds. Twenty well-chosen albums will carry many evenings, and you can add to them as you go.
Start With What Your Family Played
Ask parents, aunts and older neighbors what was on their turntables. Motown, the Beach Boys, Sinatra, folk records and the first Beatles albums all turned up in American living rooms. Family memories make a better starting list than any chart.
Mix Albums and 45s
Albums were for sitting down and listening. Singles, the small 45 rpm records with the big center hole, were for teenagers who wanted one song over and over. Keep a few 45s and an adapter near the turntable so you can play both.
Store Records the Right Way
The Library of Congress advises that you store all formats upright, with discs on edge. Keep albums standing in a sturdy shelf or crate, out of direct sunlight, and handle them by the edges so your fingers stay off the grooves.
Top Tip: When you buy secondhand records, slide each one out of its sleeve and hold it under a lamp before you pay. Look for deep scratches you can feel with a fingernail and any warping you can see when you tilt it. Light surface marks often play fine, but a warped record rarely does.
Step 4 – Choose Colors and Materials From the Period
Warm wood and earthy color set the look of a 1960s listening room. Walnut and teak furniture, wood-paneled walls and patterned rugs gave many American rooms a cozy, low-lit feel that suited long evenings of music.
You don’t need to panel the walls. Start with a few period touches:
- One or two wooden pieces in walnut or teak
- A rug with a bold geometric pattern
- Burnt orange or olive green on cushions or curtains
- Table lamps with fabric shades
Keep the ceiling light off and use table lamps instead, since the softer light makes the room feel like a place to stay put.
Soft materials also help the sound. Rugs, curtains and upholstered seating cut down on echo, so voices and instruments come through clearer than they would in a bare room.
Step 5 – Frame Concert Posters and Album Art
Concert posters and album covers were the art of a 1960s music lover. Teenagers taped them to bedroom walls, and by the end of the decade, bold psychedelic posters for San Francisco shows had become collectible in their own right.
For a listening room, framing makes the difference between a teenager’s bedroom and a room adults want to sit in. Pick one or two large pieces rather than a dozen small ones and choose images that match the music you actually play.
Reprints of 1960s concert and movie posters often come in a standard large size, so measure the print before you choose a frame. A 24 x 36 frame from Americanflat comes in wood finishes such as walnut and oak that suit the warm tones of the period. Hang the frame at eye level when you’re seated, since that’s where people in this room will spend most of their time looking at it.
Album covers work well in smaller frames grouped near the turntable. Swap them every month or two so the walls change with what’s on the turntable.
Step 6 – Host a Proper 1960s Listening Night
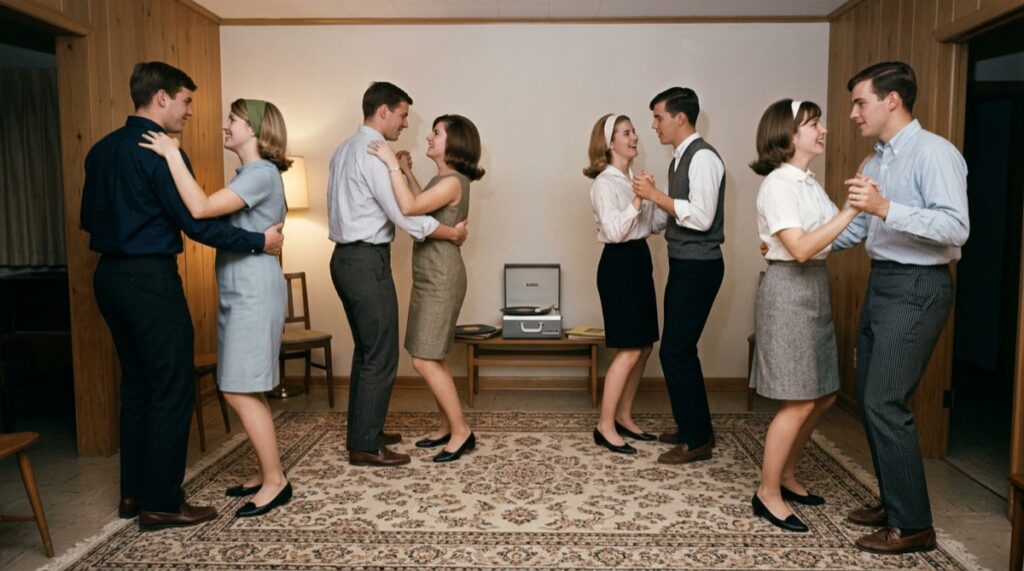
A 1960s listening night had one simple rule: play the album from start to finish and pay attention. Friends came over when someone bought a new record, passed the cover around, read the liner notes and argued about the best track.
Choose one album for the evening and play both sides in order. Turn off phones, keep the lights low and save the conversation for when you flip the record.
Keep the volume reasonable, especially for long evenings. The National Institute on Deafness and Other Communication Disorders says that long or repeated exposure to sounds at or above 85 dBA can cause hearing loss. If you have to raise your voice to talk to the person beside you, turn the music down a notch.
End the night by letting each guest pick the next record. That’s how a listening room turns into a tradition.
Plan Your First Listening Night This Week
You don’t need every period detail in place to start. Set the record player against your longest wall, move the couch to face it, pick one album you love and invite two friends over. Play side one all the way through and let the room grow from there.
Frequently Asked Questions
Where should the couch go in a 1960s listening room?
Put the couch across from the speakers, with enough distance for the sound from both sides to meet before it reaches you. Leave a clear path to the turntable so nobody has to step over guests.
How should you store vinyl records in a listening room?
The Library of Congress advises storing discs upright on edge. Keep them in a sturdy shelf or crate, out of direct sunlight.
What did people play at a 1960s listening night?
People usually played one new album from start to finish. They passed the cover around, read the liner notes and talked about it between sides.